jianguli@goodlyglue.com
+86-18948072250

Decorative veneer bubbles form when part of the face material loses full contact with the substrate. The defect may appear as soon as the press opens, during cooling, after trimming, or several days later. Although the raised area is visible on the surface, the actual cause may involve trapped vapor, uneven adhesive coating, veneer moisture, contaminated substrates, insufficient pressure, or premature glue curing.
The position and appearance of a bubble provide useful diagnostic clues. Large central bubbles often relate to trapped air, moisture, or poor contact. Repeated defects near one panel edge may indicate uneven press pressure or a coating problem. Small bubbles following the grain can result from local veneer cracks, pores, or inconsistent adhesive transfer.
Opening a defective area helps reveal the failure mode. A dry substrate may indicate inadequate coating, while adhesive on only one surface suggests weak transfer. Wood fibers attached to both sides may mean the original bond formed correctly but later failed under moisture or thermal stress.
Thin decorative veneer reacts quickly to water from the adhesive and surrounding air. When veneer moisture is too high, heat can turn part of that moisture into vapor during pressing. If the adhesive seals the perimeter before vapor escapes, pressure may develop beneath the face layer.
Very dry veneer creates a different risk. It can absorb water from the glue rapidly, reducing wetting and shortening the effective assembly period. Moisture should be checked across multiple sheets and stack positions instead of relying on one reading.
Veneer Adhesive Powder must be mixed until the glue is smooth and uniform. Lumps or uncontrolled dilution create local differences in solids content and viscosity. Adhesive that is too thin may penetrate excessively, while a mixture that is too thick may not transfer evenly.
The phrase veneer bubbling after pressing often leads factories to focus only on press temperature. Coating equipment deserves equal attention. Roller wear, dried glue, uneven gaps, panel thickness variation, and unstable feed speed may leave narrow areas without sufficient adhesive.
Does the bubble appear in the same panel position?
Is the defect limited to one veneer or substrate batch?
How long is the delay between coating and pressing?
Does the glue viscosity change during the shift?
Are the platens clean, flat, and evenly heated?
Does the defect appear before or after conditioning?
Pressure must reach every part of the laminated panel. Warped substrates, debris on the platen, uneven caul plates, or overfilled press stacks can create areas with weak contact. Excessive pressure may also squeeze out too much adhesive or damage a thin decorative face.
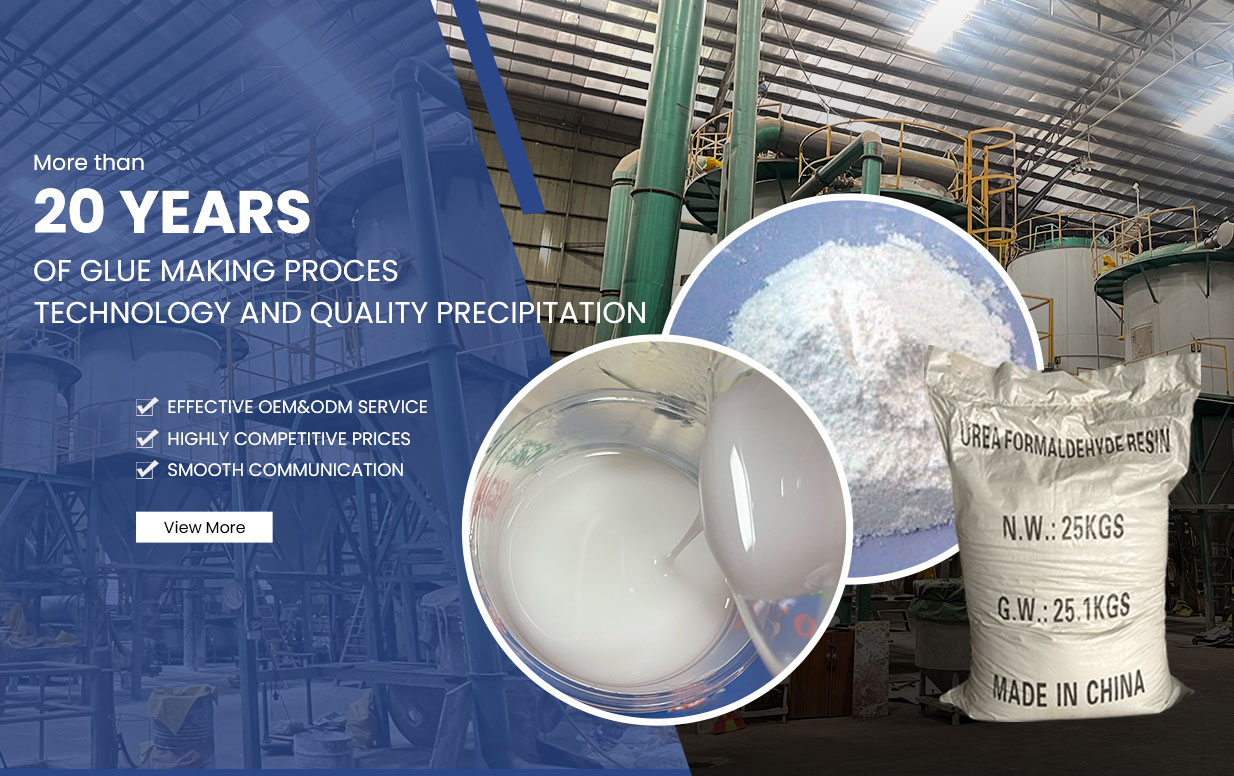
GOODLY’s powdered veneer adhesive is designed for bonding veneer under heat and pressure. Actual settings should still be established through line trials because veneer species, substrate density, adhesive spread, and press efficiency influence the usable process window.
| Trial Change | Observation Purpose |
|---|---|
| Condition veneer moisture | Detect moisture-related bubbling |
| Verify coating across panel width | Find dry or overloaded glue areas |
| Shorten assembly time | Identify premature surface drying |
| Check platen temperature positions | Detect uneven heating |
| Extend post-press conditioning | Observe delayed bond movement |
Only one major variable should be changed in each trial. Altering moisture, glue spread, pressure, and temperature together may produce an acceptable panel without revealing which correction mattered.
Decorative board factory buyers should evaluate sample panels after cooling and conditioning, not only at press discharge. Bubble prevention depends on balanced moisture, clean surfaces, uniform adhesive coverage, complete contact, and a curing cycle that matches the complete panel structure.